
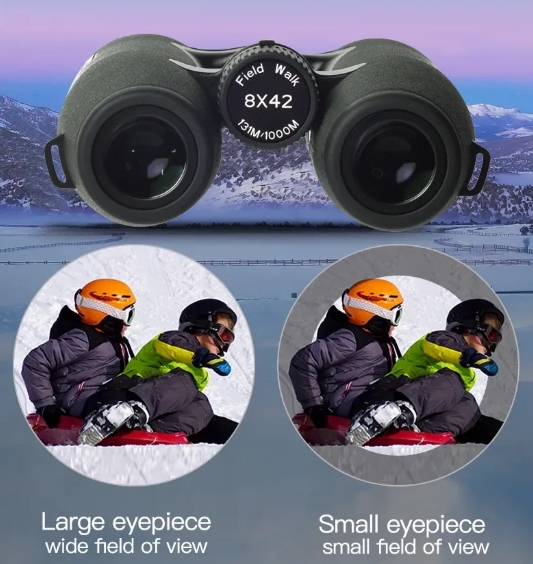
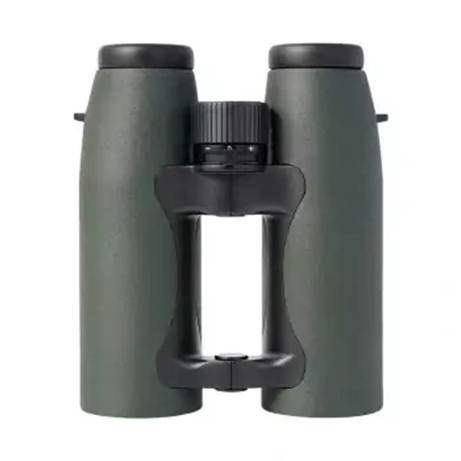
The barrels give away the design before anyone lifts the binoculars. On one pair the front lenses sit in line with the eyepieces; on the other, they sit outward. Roof prism binoculars use the first layout. Carrying space may favor it. The view still has to pass a more personal test: one user, one fixed target, and enough time to settle focus. The binocular range from Hemusun can be reviewed with that job in mind.
Both common prism layouts correct image orientation. Their routes through the glass help explain the two body shapes. The buyer can see and handle that difference.
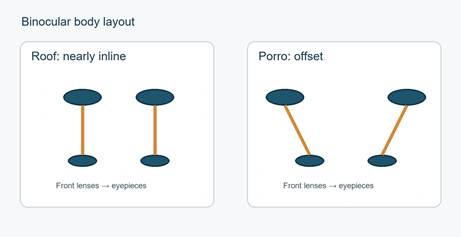
The Porro path folds through prisms and leaves the front and rear lenses offset. In the roof layout, the objective sits much closer to the eyepiece axis. Neither barrel contains a simple straight passage of air; glass redirects the beam inside. For a buyer, “inline” is a useful description of the package, not a verdict on the image seen through it.
Fit the pair, case included, into its allotted space. Then set the hinge for the user. A slim body may still fit poorly at the eyes. A gloved hand should find the wheel without a search; eyeglass wearers should try the eyecups in normal position. The test puts the housing in context.
Pack space and viewing ease can pull in opposite directions. A small pair may slide into a bag, yet one user may struggle to hold the view. Put magnification and binocular field of view beside size and weight on the same sheet. Compact binoculars for travel earn their place only if the intended scene remains easy enough to find and follow.
Choose a sign before lifting either sample. Raise the binoculars while looking toward it. If the sign is missing from the view, note how long it takes to find again. Reset the hinge for the next person. A second check moves focus from a nearer object back to the sign; the wheel should be reachable without shifting the grip. The result belongs in the handling column, not in a claim about prism quality.
| Check | Roof layout | Porro layout | What to record |
| Barrel geometry | More nearly inline | Objective and eyepiece offset | Grip and pack space |
| First view | Test with the same user | Test with the same user | Time to locate the sign |
| Focus access | Check while holding it | Check while holding it | Hand position and wheel travel |
| Carrying | Measure with its case | Measure with its case | Fit with other field gear |
Ask what binocular prism coatings are present on the proposed sample. Record the supplier’s answer beside the actual configuration, not beside the whole roof-prism category. Then look through samples at the same roofline or sign. A label about coating cannot report how that assembled pair looks to the user. If the light changes while the samples are being compared, note it; the next review should not treat the lighting change as a design result.
Pick a target that can be found again after the focus is moved. A sign with fine print or a hard roofline against sky will do. Keep the observer’s position fixed. Otherwise a comment about “the edge” may refer to a different scene each time.
Put the chosen line in the center. Focus, then move that line toward the field edge. Write down what changes. If outdoor viewing is the job, test outdoors at the relevant distance. One pair seen at noon and another in a dim corridor have not had a useful comparison. A new user should reset the first observer’s hinge and diopter settings.
Give the page two columns. Under “view,” put target finding, central detail, and whether both eyes settle on the scene. Under “handling,” put grip, wheel reach, hinge setting, eyecup position, and carrying fit. If a user reports a doubled or awkward view, record the hinge setting and whether focus was settled for both eyes. A second look after adjustment may change the observation. That is more informative than writing “poor image” in the margin.
The check sheet can fit in five lines:
“Outdoor use” covers too much ground. Name the scene: a fixed structure across a yard or signage checked on foot. Specifications in the reply should identify the proposed product, not a whole prism type.
Send the same scene description with each information request. Ask for magnification, field information, dimensions, weight, and the assembled optical details available for the proposed pair. If the answer contains magnification but nothing about fit or view, the buyer still has a sample question. Note that gap. Packaging and carry method can be discussed alongside the optical design.
Write the request so an evaluator can repeat it a week later. Name the sign or other target, approximate distance, ordinary light, carrying method, and intended user. Label the sample in the notes. If it is quick to raise but tiring to hold, keep both observations. A single grade would lose a distinction that matters when choosing between quick checks and longer viewing.
Decide what would end the trial. A wheel beyond a gloved finger’s reach is a handling failure for that workwear. A view that will not settle for an eyeglass wearer needs another fit check. Tell the supplier exactly what happened and ask which available body or adjustment could address it.
Hemusun Optical Instrument Co., Ltd. works across optical instrument research, development, manufacturing, and sales. It supplies binoculars and offers OEM, ODM, and wholesale services. The optical product range shows the relevant family. A buyer can send the inquiry team a scene description and the check sheet, then ask which available configuration is suitable to sample. That conversation starts with the task, not an unsupported promise attached to a prism name.
The roof layout can save width in a bag. It cannot substitute for a settled view. Keep target, user, hinge setting, and focus notes together. If a pair fails, those notes show whether the next question concerns handling, fit, or the view itself.
Three questions remain after sampling.
No. The prism type gives no brightness measurement for the assembled pair. Check objective size and the proposed optical design, then use one scene in the same light. A bright-looking view indoors may be a poor basis for the outdoor comparison that prompted the purchase.
The roof layout brings the front lens nearer the eyepiece axis. The Porro layout leaves them offset. Measure the intended storage space with the case included. Then lift both pairs to the eyes; saved width matters only if the view remains comfortable.
Mark a roofline or sign, set the hinge for the user, and move that target from center toward the field edge. Write down any change in the view. Then move focus from near to far without shifting the grip. Keep carrying fit on the sheet, but in its own column.