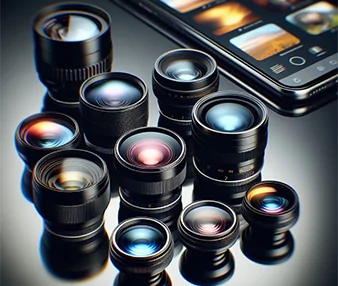
Crouched in the pre-dawn chill, camera in hand, waiting for a deer to step into the frame—it’s a heart-pounding moment. But if your lens isn’t up to snuff, that perfect shot’s gone faster than a rabbit in a briar patch. This guide’s your compass for finding lenses that’ll make your photos sing and help you build a rep as a photographer.
Focal length, measured in millimeters, is how much your lens can zoom in. It’s the first thing to figure out when you’re out in the wild, where animals don’t exactly line up for selfies.
Wildlife’s tricky. Animals are either way off in the distance or ready to bolt if you crunch a leaf. A good focal length lets you grab the shot without playing intruder. Short lenses (24–70mm) are your go-to for big, scenic shots—like a herd of elk against a fiery sunset. Medium lenses (70–200mm) shine when you can get closer, like for a curious fox or a perched sparrow. For most wildlife, long lenses (300–600mm) are the real deal, pulling in far-off critters like hawks or bison with tack-sharp detail. Super-telephoto lenses (800mm and up) are for those “pinch me, is that real?” moments with rare beasts, but they’re heavy as a sack of potatoes and cost more than a fancy vacation.
Wide-angle (24–35mm): Great for showing an animal’s world, like a bear wading in a river. Don’t expect to zoom in tight, though.
Standard zoom (70–200mm): A versatile buddy for medium distances, perfect for animals you can sidle up to, like deer in a park.
Telephoto (300–600mm): The wildlife champ. These lenses bring distant subjects into focus, ideal for big cats or skittish birds.
Super-telephoto (800mm+): For rare critters at insane distances, like a lynx on a rocky ridge. They’re bulky and pricey, so think twice.
What’s your jam? If you’re hiking through thick woods, a 70–200mm lens won’t make you curse your gear. On a safari? A 300–600mm lens gives you the reach to catch that cheetah mid-stretch.
Aperture is the hole in your lens that lets light in, marked by an f-number. It’s your ticket to juggling light and getting that soft, blurry background that makes wildlife photos pop.
A wide aperture (f/2.8–f/4) sucks in light like a kid with a milkshake, perfect for those early morning or late evening moments when animals are out doing their thing. It also blurs the background, making your subject—like a wolf against a snowy hill—stand out sharp and clear. Narrower apertures (f/5.6–f/8) let in less light but keep more of the scene in focus, great for sunny days or shots with a bunch of critters. Zoom lenses with variable apertures (f/3.5–f/6.3) can throw you a curveball, letting in less light when you zoom in, so always check the specs.
Dial up f/2.8 or f/4 for low-light shots, like a deer at dawn’s first glow.
Stick with f/5.6 or f/8 in bright sunlight to keep everything crisp.
Watch out for variable apertures on zooms—they can dim your shots when you’re zoomed in.
A wide aperture isn’t just about shooting in the dark. It gives your photos that “whoa, you’re good” vibe that makes your buddies, followers, or clients stop and stare.
When you’re juggling a big lens in the middle of a forest, even a tiny shake can turn your shot into a blurry mess. Image stabilization (IS) is like having a friend who holds your coffee steady while you’re jogging.
In-lens IS: Built into the lens, this is common in telephoto lenses. It fights off shake, so you can shoot at slower speeds without fuzz.
In-body IS: Some cameras have this, steadying any lens you pop on. It’s not super common in wildlife setups but a nice bonus.
No IS: You’re stuck hauling a tripod or monopod, which can feel like dragging a sled through mud.
I’ll never forget trying to shoot a heron at 400mm while a breeze shook my hands like a maraca. IS saved that shot, keeping it crisp as a fresh dollar bill. It’s a lifesaver for fighting off wobbles from wind, breathing, or just being human. For lenses over 300mm, it’s pretty much a must unless you’re always tripod-bound. It’s the kind of feature that makes your photos look pro and keeps you from chucking your camera into a bush.
Wildlife photography means slogging through mud, brush, or wide-open plains. The weight of your lens can turn a fun shoot into a sweaty, miserable slog.
Light lenses (under 1kg): Easy to carry, like a small zoom or monocular. Perfect for long hikes.
Medium lenses (1–2kg): A solid pick for all-day shoots. A 70–200mm lens lives here.
Heavy lenses (over 2kg): Super-telephotos that deliver killer shots but might need a monopod or a pickup truck.
Pick a lens that matches your energy and where you’re shooting. A 600mm lens is awesome for detail but a nightmare on a long trek. I learned that the hard way after dragging one up a hill and swearing I’d stick to lighter gear. For casual shooters, a 100–400mm lens is the sweet spot. If you’re out to blow clients away with epic shots, heavier gear might be worth it—just grab a monopod to save your shoulders.
Lenses can cost anywhere from a few bucks to more than your car. Your budget’s gonna steer you, but don’t skimp on quality—it shows in your shots.
| Lens Type | Price Range | Best For |
| Entry-level | $200–$500 | Beginners, basic zooms |
| Mid-range | $500–$1500 | Hobbyists, versatile lenses |
| Pro-level | $1500+ | Pros, high-end optics |
A solid 300mm lens will usually outshine a cheap 800mm one. Good glass means sharper shots and gear that doesn’t quit. If a pro lens is too steep, rent one for special trips. I rented a 400mm lens for a shoot once, and those photos got me a paying gig—total win. Smart spending shows you’re serious, whether you’re building a personal stash or a pro brand.
Different scenes need different lenses. Here’s what to grab to nail the shot.
Use: Show animals in their world, like a herd of buffalo on a grassy plain.
Pros: Adds drama and context to your photos.
Cons: Not great for close-ups; animals can look like specks.
Tip: Pair with a wide aperture for killer sunrise shots
Use: Great for birds, small critters, or groups at medium range.
Pros: Light and flexible for all sorts of situations.
Cons: Won’t reach super-far subjects.
Tip: Splurge on f/2.8 if you can for low-light magic.
Use: Perfect for distant wildlife, like elk or hawks.
Pros: Sharp detail and awesome background blur.
Cons: Heavy and pricey; needs stabilization or a tripod.
Tip: Spotting scopes with adapters can give you similar reach on a budget.
Use: For rare critters at extreme distances.
Pros: Unmatched reach and clarity.
Cons: Bulky, expensive, and often needs extra support.
Tip: Rent these for one-off trips to save cash.
If your photography takes you into environmental or agricultural projects, Hemusun Optical Instrument Co., Ltd. is worth a look. Based in China, they specialize in water-soluble fertilizer production lines, offering reliable, customizable gear for sustainable work. Their equipment is built tough, perfect for eco-focused projects. Hit them up for solutions that fit your needs.
Choosing the right lens for wildlife photography is about knowing what you love to shoot, what you can afford, and what you’re willing to lug around. Wide-angle lenses capture the big picture, while telephoto and super-telephoto lenses pull distant critters close. Pair great gear with smart habits—steady shots, good light, and proper care—and your photos will stop people in their tracks. Whether you’re building a personal collection or a pro-level brand, the right lens opens up a world of possibilities. Pick smart, shoot with heart, and let your photos tell a story that grabs folks’ attention.
A 300–600mm lens is super versatile for wildlife photography. It’s got the reach to snap far-off animals like birds or big game without scaring them off.
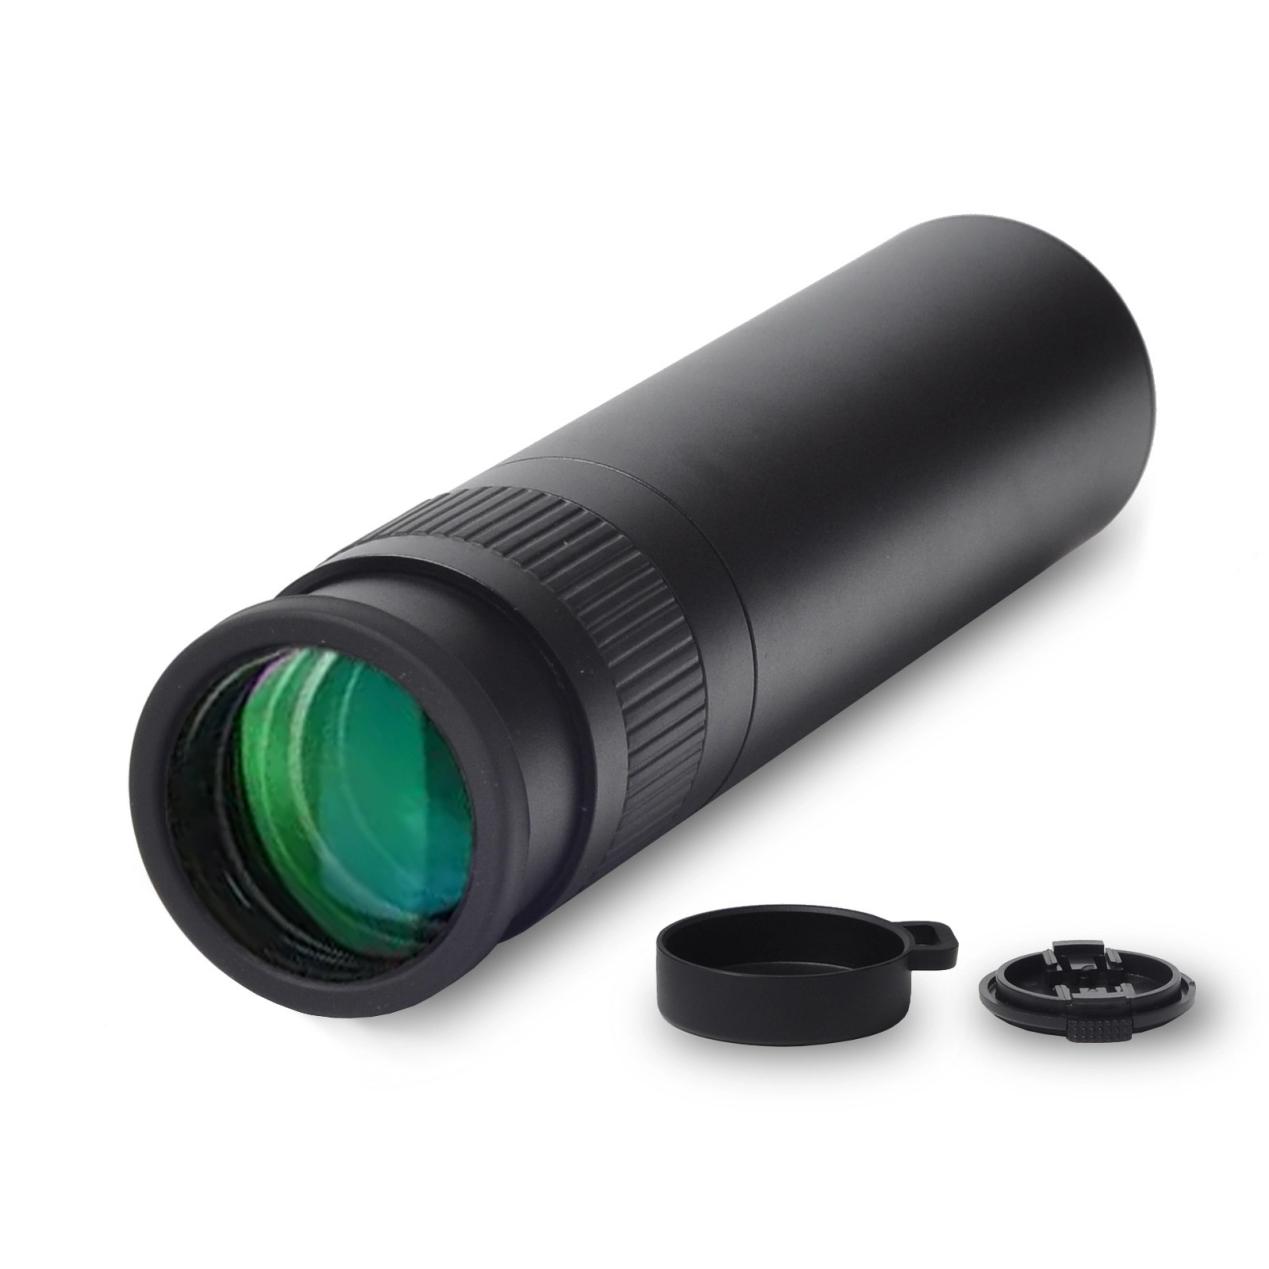
Yup, with an adapter, spotting scopes can act like telephoto lenses for wildlife photography. They’re a budget-friendly way to get great reach.
Clean your lenses every month or after dusty trips. Use a blower and soft cloth to keep them ready for wildlife photography.